Whilst I was obsessively pinning my perfect life on
Pinterest the other day (how many of my blog posts could start that way?!) I
saw some tutorials on how to update photo frames. Living on a tight budget
means that my first option is always recycling something before replacing it,
and frames are no exception! I found this bright gold coloured one during a
charity shop spree a few months ago and it has been sitting around the house
waiting for some inspiration to take hold of me to ‘fix’ it. This week it
finally got the makeover it deserves!
I’m not going to write a tutorial – because seriously, they
are EVERYWHERE and it is pretty easy once you get started. But I will show you
the before and after pictures incase it inspires you to dig out any projects
which you have stored up!


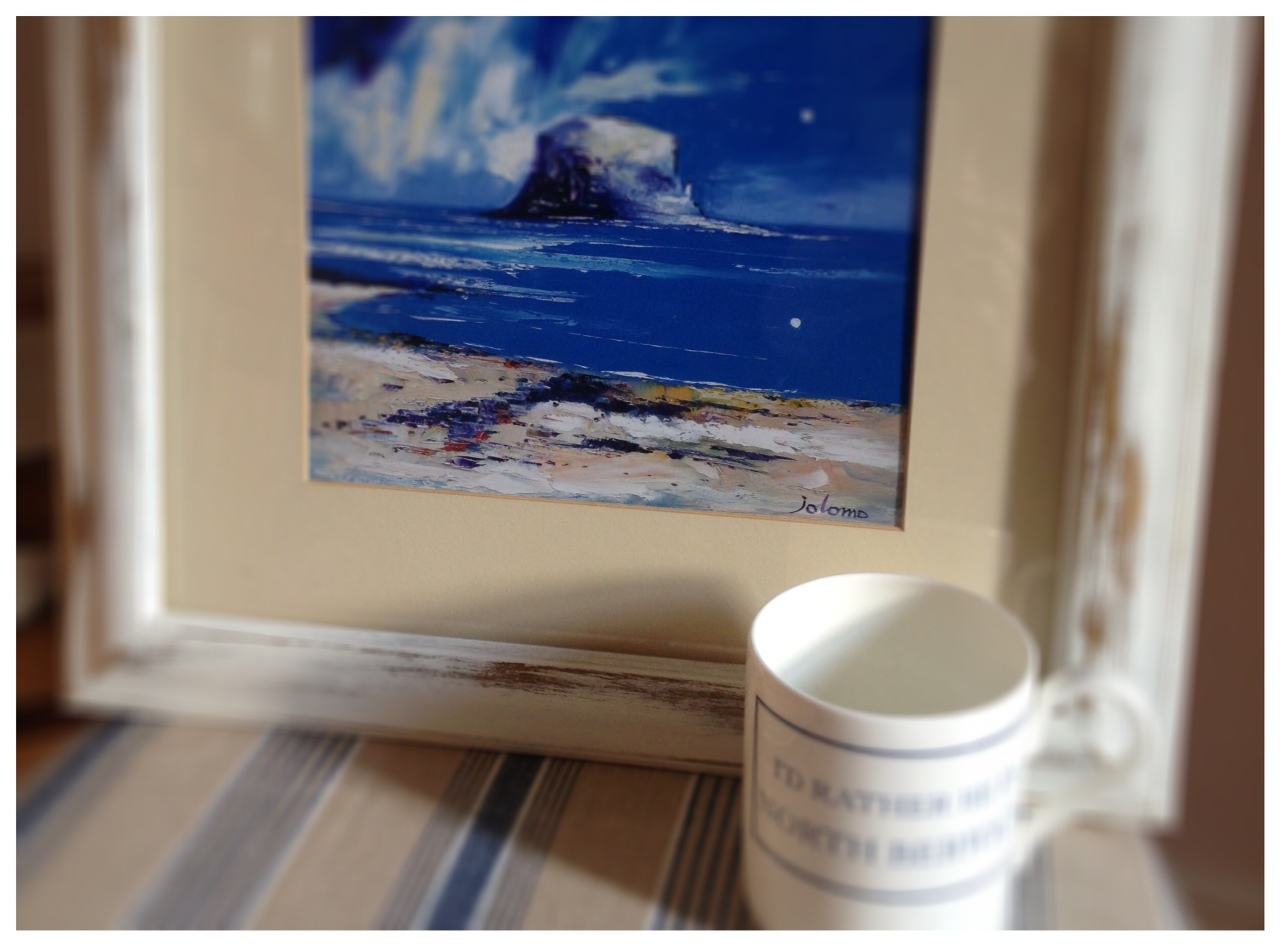
Ta dah! One beautiful shabby chic nautical inspired frame.
It helps that the weather ‘oop North’ has been glorious for
the past week or so and I have been able to catch up with all of my forgotten
projects outside. I won’t mention the perils of sunburning whilst outdoor
crafting, let’s just all take a minute to take advice from THAT Baz Luhrman
song!
(Oh, and in case you were wondering the picture is a
painting of the Bass Rock near North Berwick, a proper vintage British seaside
town not too far from Edinburgh).
Until next time, K x
Love it ! Very pretty
ReplyDelete